
Top roll : removal
This has to be done in order to access the rear side of the gauges, a set of relays, the coolant amplifier, to check the wiring looms condition etc.. and also to remove the wooden finisher in the case of a veneer restauration.
0-Remove the central wood panel
Check here for how to proceed.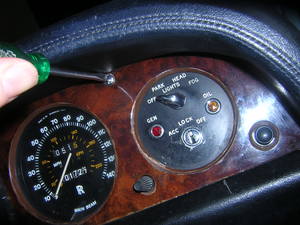
1-Remove wood panel on the driver's side
Check here for details on how to proceed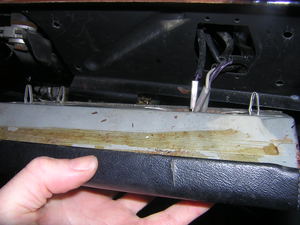
2-Unclip the knee padding under the dash oh the driver's side
3-If wish to entirely remove this part, detach the town / country horn switch wiring
4-Remove the glove box door
The door is secured by four wood screws located on both sides. Removal of this part eases the access to the two inner studs that secure the top roll and are hidden inside the glove box.Tools: Philips screwdriver
5-Glove box door removed
Slide it avay from its hinges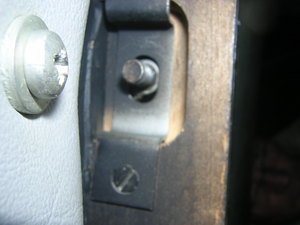
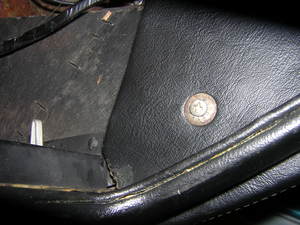
6-Remove the two nuts that are accessible from the inside of the glove box
These two nuts are located in the top of the glovebox in recessed holes.They point towards the windscreen so you cannot see them. A 7/16" socket on a 1/4" universal joint is the way to loosen them.on the picture you only see the stud with the nut already removed
Tools: 11mm - 7/16 in. socket
7-Remove the three screws securing the top roll to the dash
These screws come with there washers.Tools: Flat screwdriver
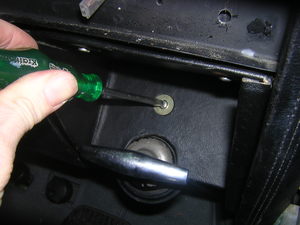
8-Remove the woodscrew securing the parcel tray to the instrument board
On the passengers side (RH cars). It is not necessary (and also it would be difficult) to remove the parcel tray. Just remove this unique screw in order to gain access to the underlying screw securing the left leg of the top roll.Tools: Philips screwdriver
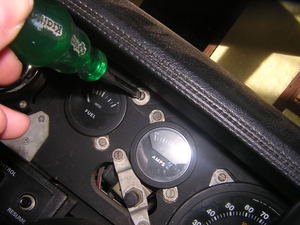
9-Slide down the upper left side of the parcel tray to gain access to the top roll securing screw
You can see this screw (surrounded with white) on the picture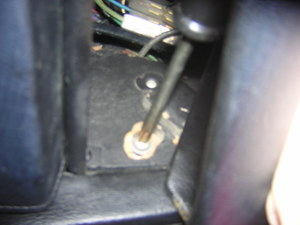
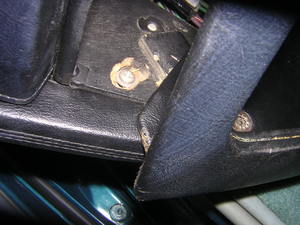
10-Remove the screw securing the left (RH cars) leg of the top roll
Tools: Philips screwdriver
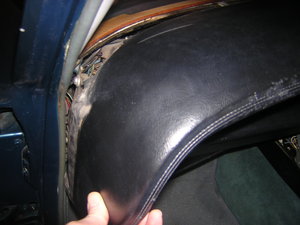
11-Remove the front brake handle cover on driver's side
This part is secured by three setscrews and their washers, plus an extra philips screw on the right handside (in my car anyway).Tools: Flat screwdriver
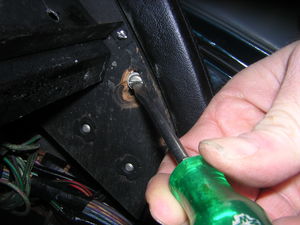
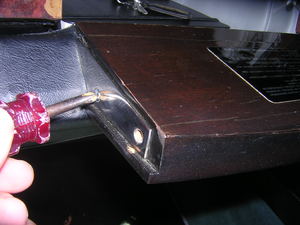
12-Remove the woodscrew securing the right (RH cars) leg of the top roll
This screw comes with its washerTools: Flat screwdriver
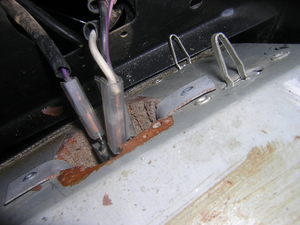
Acertain that all the fasteners have been removed by carefully tilting the top roll
That is :-3 screws on the dash
-2 nuts on the studs inside the glove box
-2 screws on each legs of the top roll
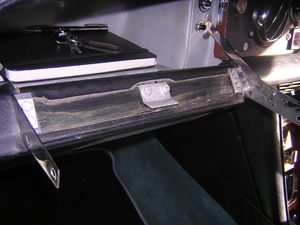
13-Pull the top roll away on right and left side and lift it away
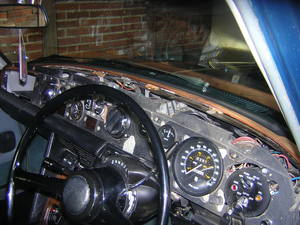
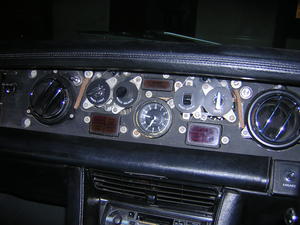
14-View of the dash with top roll removed
You may now want to follow with the windscreen wodden trim removal
This is in the case you are removing all of the wodden parts of the dash for a veneering.This task is explained here.
