
Relay : testing, repairing seats relay
The electrically operated seats are controled by a set of four four-pins relays of the 33272D type. Two relays for each seat : one operates the electric engine forwards and one backwards. Typically if the seat only moves in one direction the problem comes from a faulty relay / or connection.
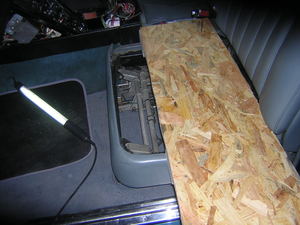
0-Protect the seats
Before working on the dash it is a good idea to remove the leather seats and use a plank of wood doubled with with rubber.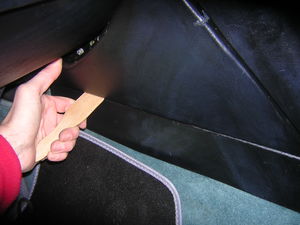
1-Unclip the right and left side panels on the console
These are secured by three clips located at the top summit at on both sides of the top. Just pull the pannel.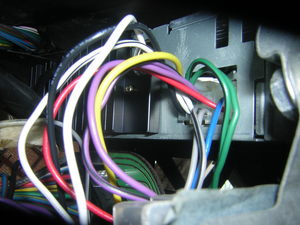
2-If equiped remove the radio player
Remove plugs, aerial and pull it forward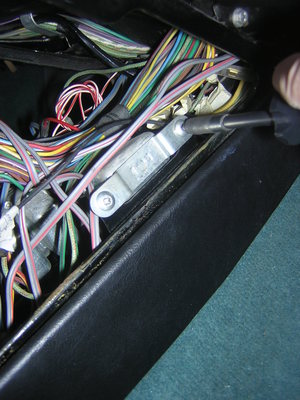
3-Remove relay on the right handside of the console
This relay stamped 33307D (function ?) is wired :C3: Violet
C1: _
C2: Red
W2: Blue-black tracer
W1 : Slate.
Tools: Philips screwdriver
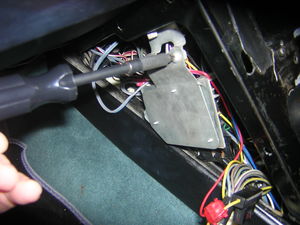
4-Remove the metal plate on the left handside of the console
It is unnecessary to unconnect this device, just pull it out of the way.Tools: Philips screwdriver
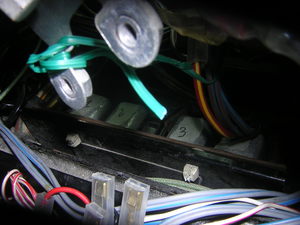
5-Seats relays
You can now clearly see the four relays. The two first on the left operate the drivers seat; #1 turns the worm shaft anticlockwise, #2 clockwise; the two on the right the passenger seat, same rule.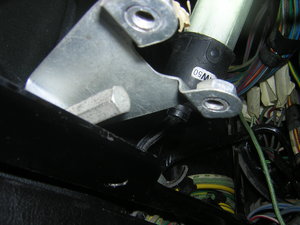
6-Remove the previous plate holder in order to gain full access to the inside of the console
Tools: 9mm open spanner
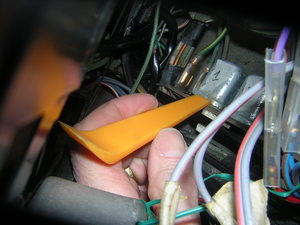
7-Remove the seats relay from the printed circuit
Do genlty. When it comes to put the relays back in place adjust first the relay part that has two or four pins then you can safely press.Tools: Trim removal tool
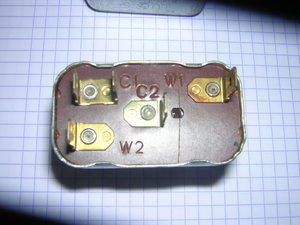
8-Seat relay removed
When 12V feed on W1-W2 pins, C2-C1 : closed; when no current : C2-C1 : open.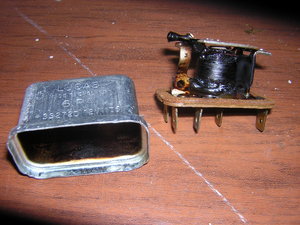
9-A cooked relay
This you may have inside a neat looking - but 'not clicking' relay.
