
Rear-Stop lamp change
Note: Changing a rear stop light bulb doesn't require that many steps. Just remove the trim and go step 8.
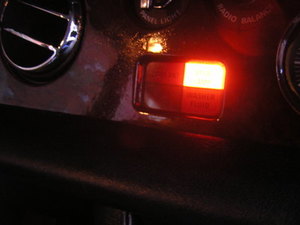
0-Stop lamp warning
This warning lamp means a dead stop lamp.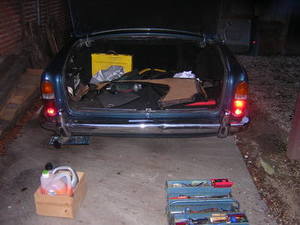
1-Rear left stop light dead
2-Remove the side trim inside the trunk
Unplug battery Trim is held in place by "trim nipples" but sometimes also by setscrews.Tools: Philips screwdriver
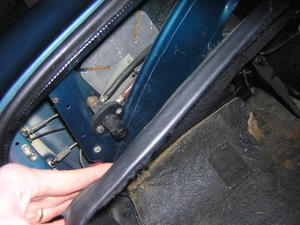
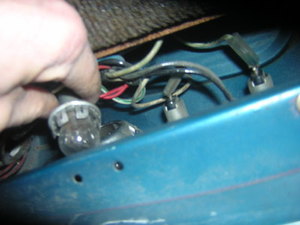
3-Unplug rear lights wiring
The wiring cables colors are from top to bottom and exterior / interior : indicator : Black (cotton) / Red-Green (cotton) - reverse light : White / Yellow (cotton) - Light+Stop light : Red (plastic) - White-Green (plastic)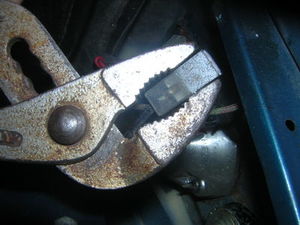
4-This is the safest way I've found to remove a plastic connector
Tools: Pliers
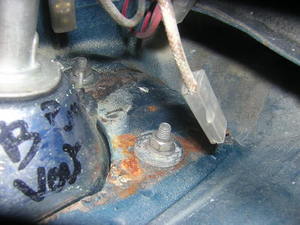
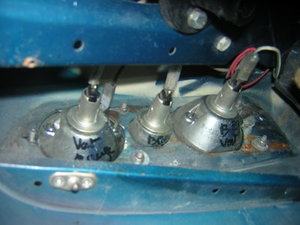
5-Remove the rear lights plate
The rear light plate is secured to the body by four 9mm nuts. Each nut has two washer.Tools: 9mm - 11/32 in. socket
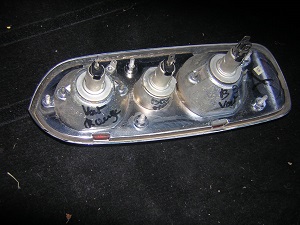
6-Rear lights plate removed

7-Check the lights plate rubber seal condition
8-Pull out the bulb
The bulbs sockets are push-in type. They may be stucked with a hard seal. Do gently with a plastic tool.Tools: Trim removal tool
9-Pull out the faulty bulb
In normal conditions you don't need to remove the lights plate nor disconnect the wires.
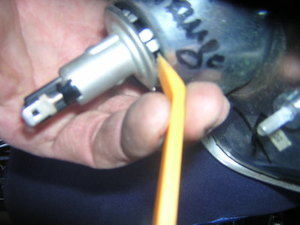
10-This is the rear light / stop light lamp
It is a P21 - 5W bulb. When you push it into its socket check that the two pins on the side of the bulb base are positionned properly.Note that the battery should be disconnected when you fit the bulb; you will avoid a fuse/bulb blow
