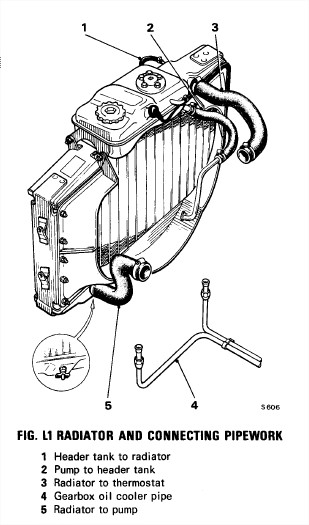
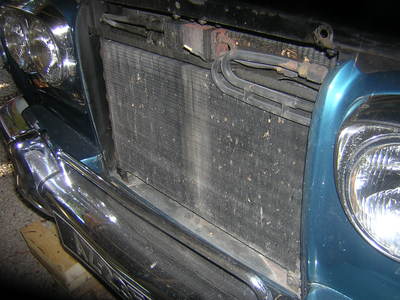
Here is a picture showing the top of a Silver Shadow 1 radiator. You
may notice burnt cooling liquid on the radiator ridge which certainly
indicates
from a leak.
The radiator thus needs to be removed for a test and consider a resolder.
It also brings an occasion to remove and check the header tank by inspecting both cooling sensor and
pressure valve, performing a pressure test and even maybe have it
opened checked from the inside, clean and resoldered too.
1 - Removing the bonnet / hood (not mandatory)
According to WM section L12, the radiator removal can be done without taking off the bonnet.
But for more comfortable access to the radiator, the removal of the bonnet / hood can be performed as described in WM S51 :
lift up the bonnet
Bonnet lamp leads
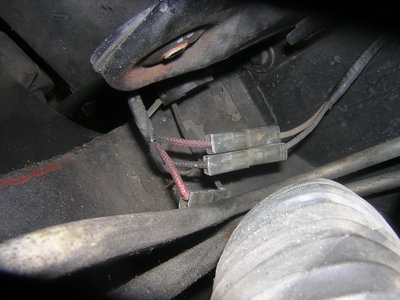
note position of the bonnet lamp leads for correct assembly (pic 2)
disconnect the bonnet lamp heads at the snap connectors adjacent to the switch on the right-hand hinge bracket
for older cars it is also necessary to disconnect the two
leads from the termination block at the front of the engine compartment
detach the clips securing the leads to the right-hand hinge
brackets (pic 3); on early cars also remove the screws and detach the two clips
securing the lead to the front of the engine compartment;
bonnet removal (this aluminium part of the body only weights 8kg)
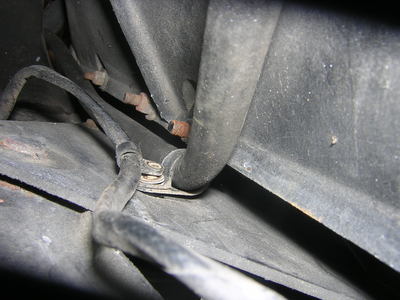
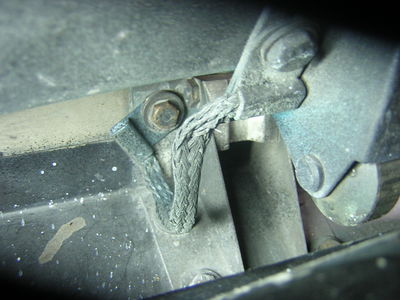
detach bonding strip (or earthing strap) situated at the front of the bonnet (pic 4)
careful :refit NOW the bolt securing the earthing strap because it also holds the grille in place
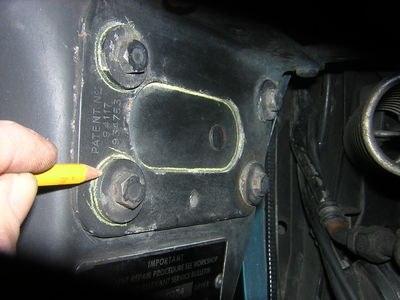
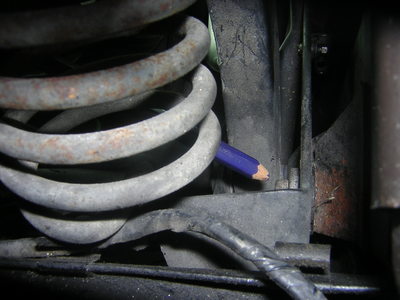
using a soft pencil, scribe correlation marks round the washers of the set screws securing the bonnet to the hinges (pic 5)
with two assistants supporting the bonnet remove the eight 1/2 AF set screws securing the bonnet to the hinges
it is preferred to proceed in two steps : removing 3 screws on
each side and the last one with the two assistants the bonnet steady
remove the bonnet (pic 6) note that its weight is only about 8 kg
bonnet can be stored of the car's roof laid on a thick blanket
Fitting back the bonnet
reverse procedure but note : the height 1/2 AF set screws
should not be fully tightened until the bonnet clearances are not 9/64
in / 3,571mm (for a 4-door saloon car)
2 - Draining the cooling liquid
This could be performed after the grille removal.
fit a rubber hose to the radiator tap and direct into a clean container (pic 7)
drain radiator liquid into a big container using the bottom drain tap until it is completely empty (pic 8)
cover container to prevent the liquid from contamination
3 - Removing the grille (not mandatory)
A grille inspection / cleaning can be performed easily once the bonnet is unmounted.
remove 2 (3 on SRH25085) bolts securing the bottom grille to the front bumper (pic 9)
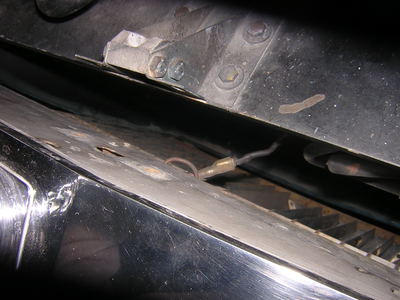
4 bolts are remaining securing the top of the grill to the
skirting (plinthe/ rebord) (pic 10) : unscrew the 2 inner ones
first
Here is one position : The SY1 radiator can be removed without taking off the bonnet. The
header tank and viscous coupling/fan unit need to be removed first, but
when done so there is plenty of room to pull out the radiator.
The header tank is held in place by 3 bolts (with nuts), the one
nearest the front of the car is a little difficult to access however I
found using a 1/4" extension on the socket through the bonnet gap was
the best way to undo it.
The viscous coupling is fastened to the water pump by 4 nuts. They are
easy to remove and the whole unit can be (carefully) lifted out.
Make sure they are torqued up tight when replaced - I used thread locker to make sure they do not come loose.
Sources :
WM section L2; Waples pp90-91; Tee One Review 6 p 48; Forums advisers
Read also here
Related pictures
picture 1 : front wheels of the car sit on a wooden ramp
picture 2 : identifying the bonnet lamp leads before disconnection (it is a good idea to mark them)
picture 3 : detach the setscrews from the brackets securing the leads
picture 4 : remove the screw holding the bonding strip but put it back in place straight away because it also holds the grille.
picture 5 : marking the washers on the bonnet / hood hinges before removing the screws
picture 6 : front of car with bonnet / hood removed
picture 6b : underside of the bonnet with insulation material. Bonnet is layed on a blanket.
picture 7 : the drain tap is located at the bottom-left of the radiator. I prefer to slightly unscrew the tap in order
to let the coolant bleed slowly in a clean way.
picture 8 : about 12 litres (out of 16 litres) should bleed from the radiator
picture 9 : bolt securing the grille to the front bumper (middle and right)
picture 10 : bolts securing the grille and holding the bonding strip located at the top.
picture 11 : inner (x2) and outer (x2) bolts retaining to of the grille
picture 12 : mascot alarm lead to disconnect before removing the grille
picture 13 : Silver Shadow front with grille removed
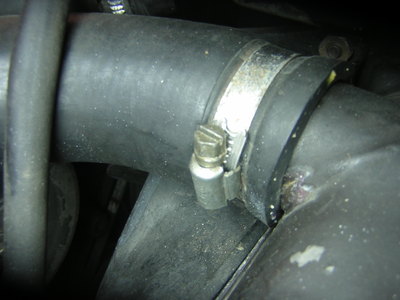
picture 14 : header tank to engine rubber hose - to remove
picture 15 : header tank to radiator hose - to remove
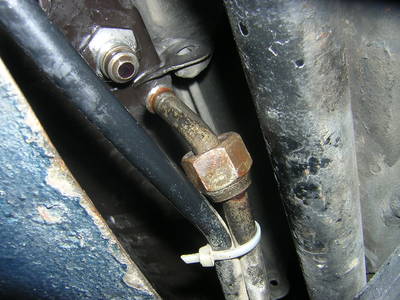
picture 16 : one of the three bolts securing the header tank
picture 17 : removing the 2 6BA / 5mm nuts holding the
coolant sensor lead. The sensor is further extracted by releasing a
circlip
picture 17b : drain pipe from the header tank (to detach also) sinks into the engine bay through a guide
picture 18 : bottom hose detached from the radiator
picture 19 : top hose - to detach
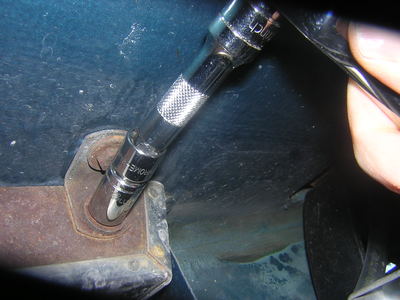
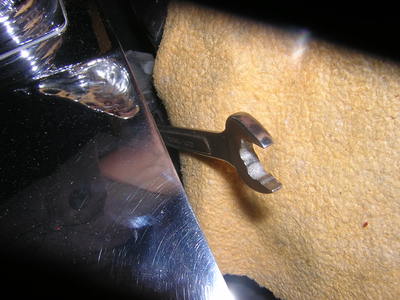
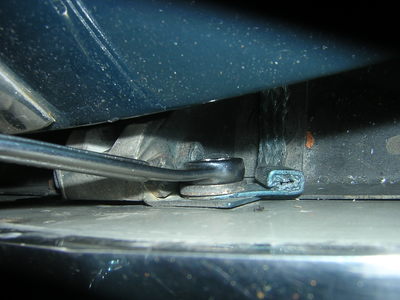
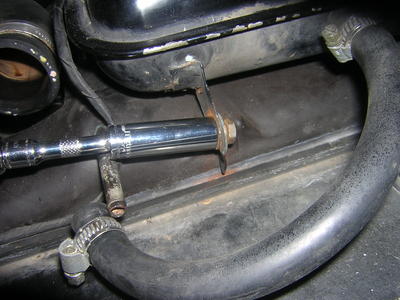
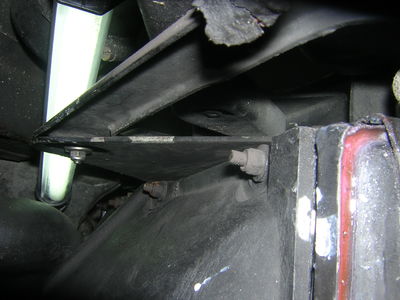
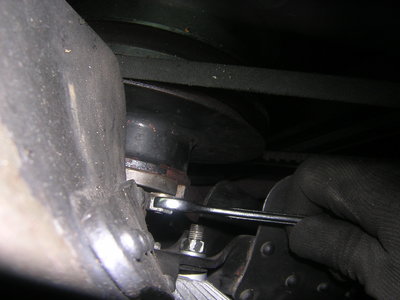
picture 20 and next : detaching one of the two gearbox coolant pipes with a 3/4 in. crows foot wrench
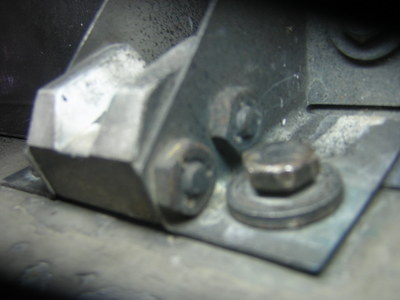
picture 21 : reflector is held in place by 4 11mm / 1/18 in. screws. Here you can see two of them
picture 22 : two 2BA screws retaining the upper cowl of the radiator - to remove
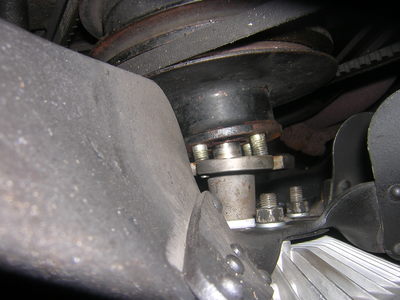
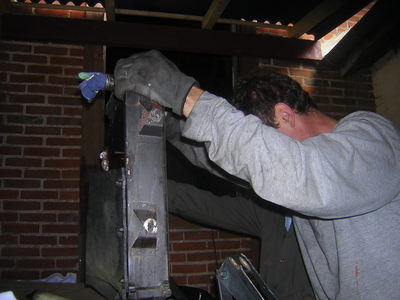
picture 23 : releasing the viscous fan clutch form the water pump pulley
picture 24: gently removing the clutch and fan assembly
picture 25 : water pump pulley freed of the viscous fan clutch
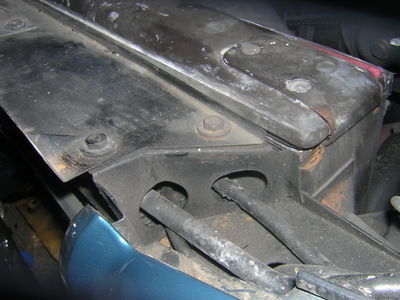
picture 26 : axle stand positionned under the radiator prior to removing the screws
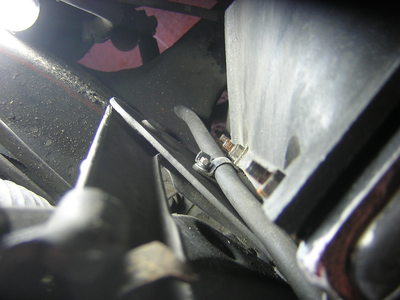
picture 27 : one of the four 13mm setscrews located on both sides of the radiator
picture 28 : withdrawal of the radiator by two persons
picture 29 : radiator removed. Note that the lower cowls weren't removed.
Screws beeing in bad condition and deep in the engine bay it is better to remove them whith the radiator out.
<?php include("footer.inc.php");?> 2015 - Feedback&comments are welcome at jostjc - at - Gmail dot com
 Home |
  Links&Readings |
Browse by Subject (alphabetical) |
Maintenance Projects
Links&Readings |
Browse by Subject (alphabetical) |
Maintenance Projects
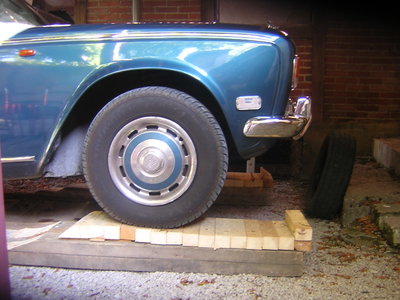 picture 1 : front wheels of the car sit on a wooden ramp
 picture 5 : marking the washers on the bonnet / hood hinges before removing the screws
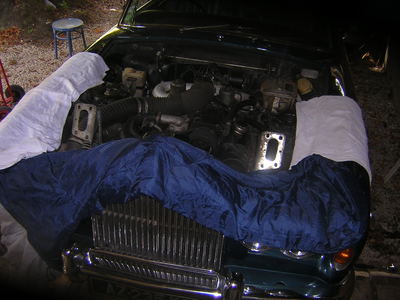 picture 6 : front of car with bonnet / hood removed
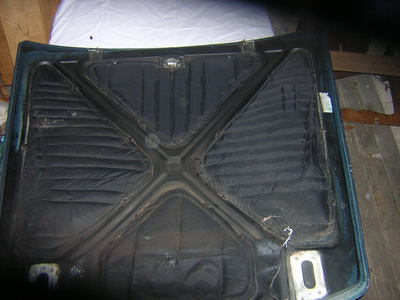 picture 6b : underside of the bonnet with insulation material. Bonnet is layed on a blanket.
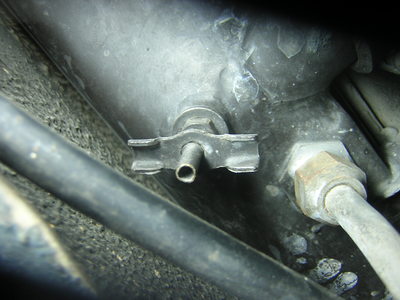 picture 7 : the drain tap is located at the bottom-left of the radiator. I prefer to slightly unscrew the tap in order
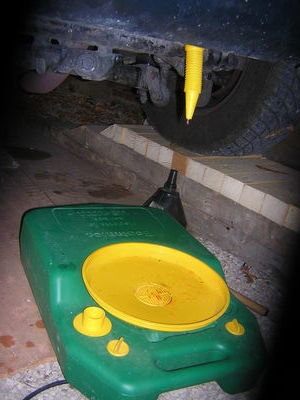 picture 8 : about 12 litres (out of 16 litres) should bleed from the radiator
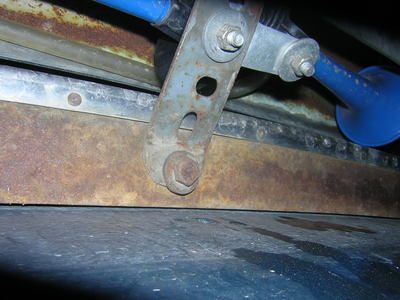
 picture 11 : inner (x2) and outer (x2) bolts retaining to of the grille
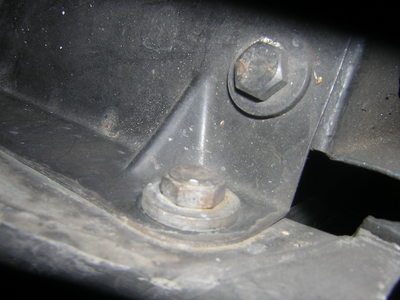
 picture 13 : Silver Shadow front with grille removed
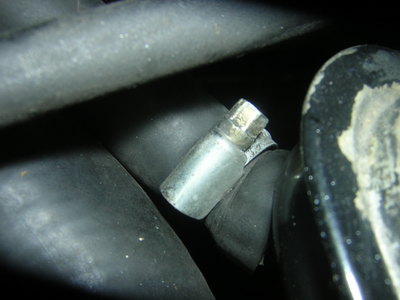 picture 14 : header tank to engine rubber hose - to remove
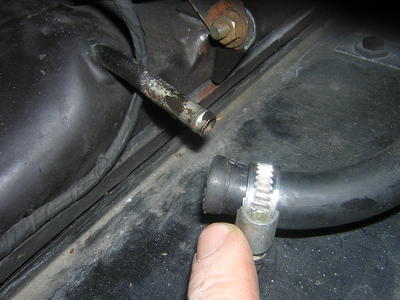
 picture 16 : one of the three bolts securing the header tank
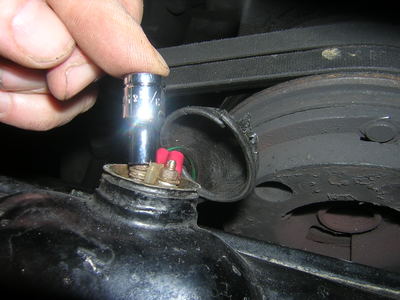
 picture 17b : drain pipe from the header tank (to detach also) sinks into the engine bay through a guide
 picture 19 : top hose - to detach
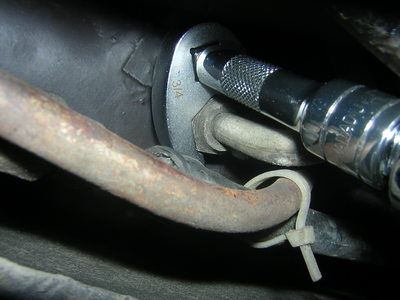
 picture 24: gently removing the clutch and fan assembly
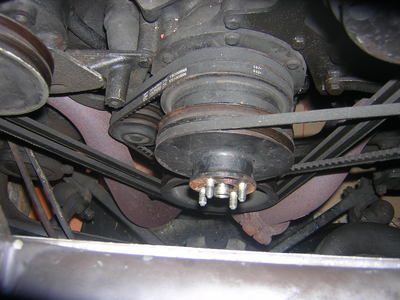 picture 25 : water pump pulley freed of the viscous fan clutch
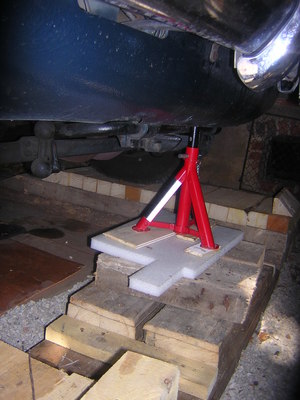
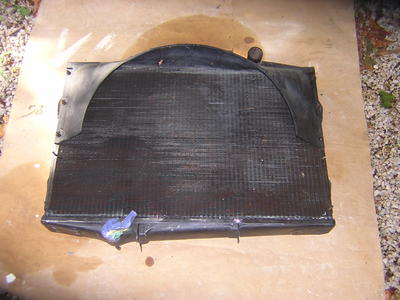 picture 29 : radiator removed. Note that the lower cowls weren't removed.
