
Coolant sensor : remove clean and remount
This maintenance can occur when troubleshooting a failing coolant warning light or in case of leakage. It requires an empty header tank. It is not necessary to unmount the header tank though more confortable.
Note : in my case a missing coolant probe o ring seal did not result in any leak. Possibly because the sensor fits very tighly into its recess.
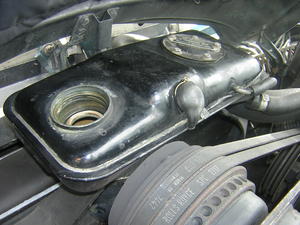
0-The header tank is assumed to be empty
Look here for how to perform a partial drain of the coolant.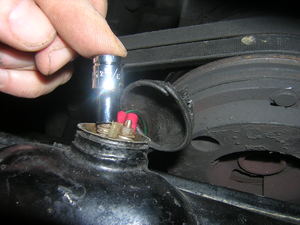
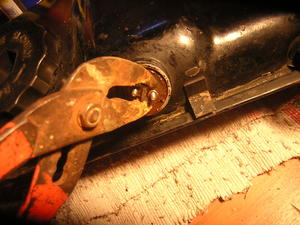
1-Remove the sensor boot and the two 6BA / 5mm nuts holding the coolant sensor lead
Beware not to drop the two tiny nuts and washers. The sensor is further extracted by releasing a circlipTools: 5mm - 6BA socket with screwdriver handler
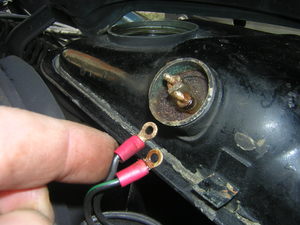
2-Header tank sensor leads removed
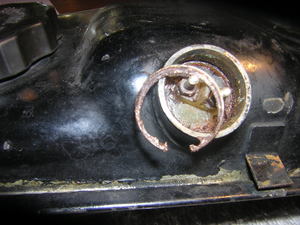
3-Release the circlip securing the coolant the sensor
In the case shown on the picture the circlip is in iron age condition.Tools: Circlip pliers
4-Using pliers, gently twist out the sensor
If too difficult, use penetrating oil and let it make effect.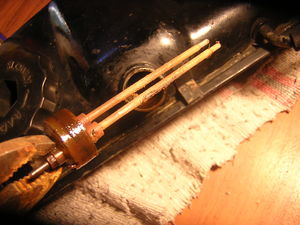
5-Coolant sensor out
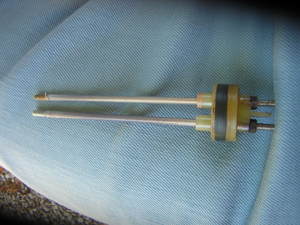
6-Thoroughly clean the sensor prong
These are plastic coated. Visually check the coating. With an ohmmeter check that the insulation is correct.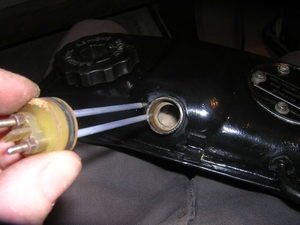
7-Fit the sensor back inside the tank.
There is a "gutter" inside the header tank. Be sure to insert the probe so that it stays inside this gutter.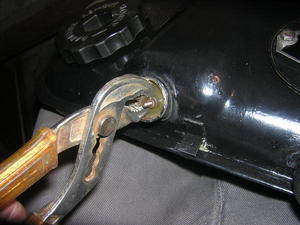
8-Push the sensor inside the tank until it stops
Tools: Pliers
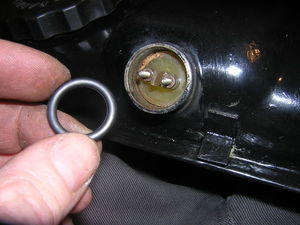
9-Fit the header tank sensor o ring
Spare Parts: Header tank probe o ring (UA13325)
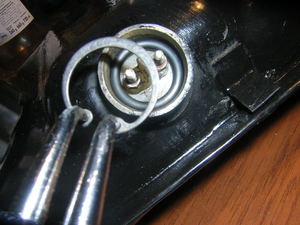
10-Fit the header tank sensor retaining circlip
This circlip is standard but also has a Crewe reference.Spare Parts: Header tank probe circlip (UE13701)
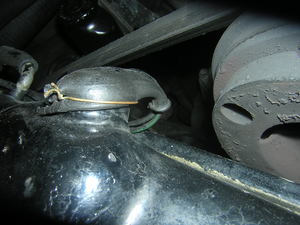
11-Put the leads and the cover back in place

