
Accumulators removal
Typically if you need an overhaul, refill
Location
On SRH25085 (SY1 1977) both accumulators are at front-left. You can access them from under the car or if wheel is removed.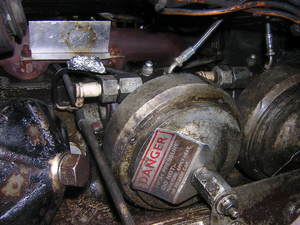
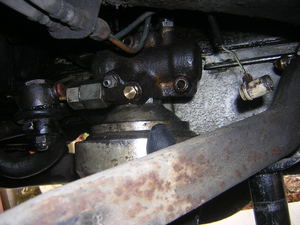
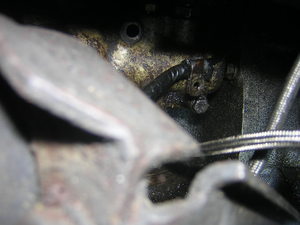
0-View from under
At left oil filter and oil dipstick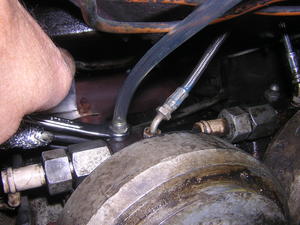
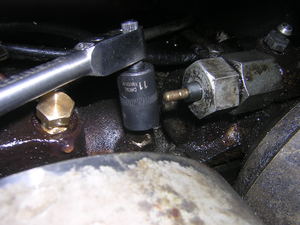
1-Bleeding both accumulators
In order to remove remaining liquid. Note that in the present case, the brake reservoir has already been removed. AND the two return pipes have been disconnected.Tools: 11 mm - 7/16 in. open spanner
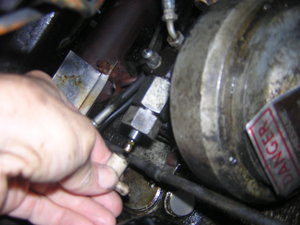
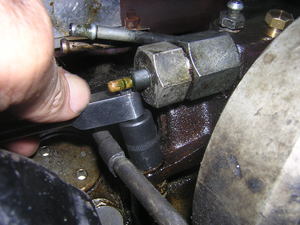
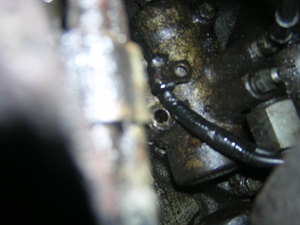
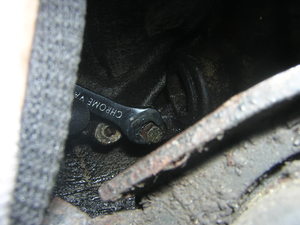
2-Disconnect the contact switch cable
This is the warning lamp switch. A pressure sensor sends a red light warning to the dashboard in case of low pressure.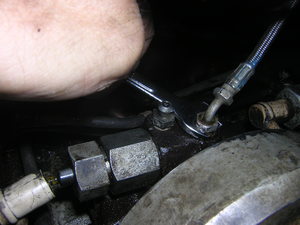
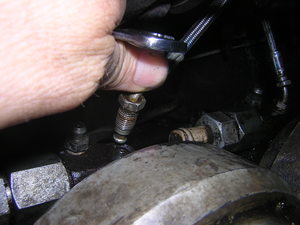
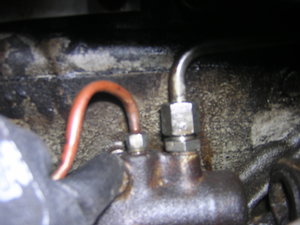
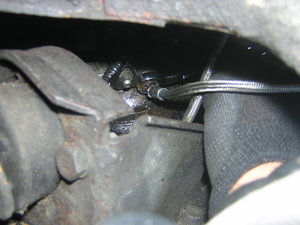
3-Release high pressure hose (blue) to distribution valve on accumulator 1
(better tool : flare nut wrench)Tools: 11 mm - 7/16 in. open spanner
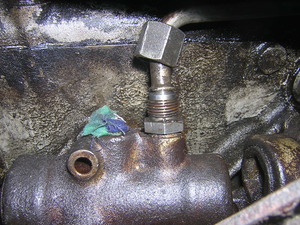
4-Hose removed
5-Port blanked
How are the accumulators secured ?
Each accumulator is secured by 3 setscrews making a triangle. Plus one nut at the very bottom.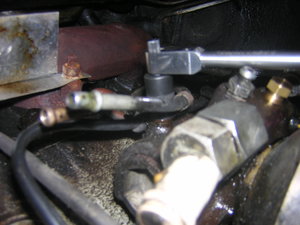
6-Remove the first setscrew on acc#1
This setscrew hold a clip that is also securing the electric cable to the contact switch. Use mini ratchetTools: 11mm - 7/16 in. socket
Move electric cable away to gain space
7-Remove lower nut
Comes with a washerTools: 11mm - 7/16 in. socket
8-Remove second setscrew on acc#1
This setscrew is located next to the contact switch connector and secures the oil dipstick. Sensor is of acc#2Tools: 11mm - 7/16 in. socket
9-Release third setscrew on acc#1
Prior to doing this, remove contact switch lid on acc#2 in order to gain access. On the picture, the wole left handside is part of acc#1.Tools: 11mm - 7/16 in. socket
At this point..
It is necessary to have a good access to the top of both accumulators.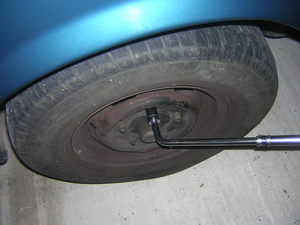
10-Remove front left wheel
Release nuts clockwise.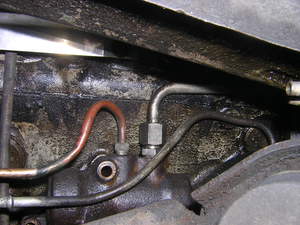
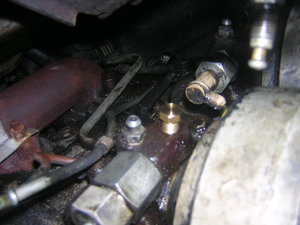
11-Top of acc#1 seen from under wheel arch
Acc#1 : Left : return pipe to reservoir. Right : inlet from FRONT pump. You can notice that the return pipe from acc#2 is on the way if you want to remove the big nut. It's a good idea to remove it first to avoid damage.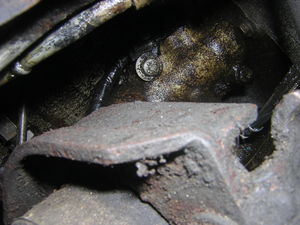
12-Remove first setscrew on acc#2
In order to remove the pipe (see former picture) you need to remove one of the three setscrew that secures acc#2 and also the electric cable running to the acc#1 contact switch. Setscrew comes with 2 washers : 1 thin 1 thick.Tools: 11mm - 7/16 in. socket
13-First setscrew on acc#2 removed
See the ring holding the cable.Tools: 11mm - 7/16 in. socket
14-Release the return pipe from acc#2
Tools: 13mm / 1/2 inch. flare nut wrench

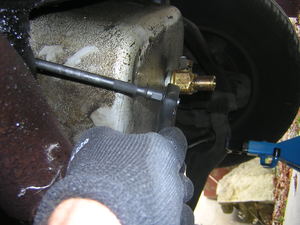
15-Release inlet pipe to pump on acc#1
Now that the return pipe from acc#2 has been removed you can access to inlet pipe on acc#1. Hold firmly the top nut with flare nut wrench and unscrew the low nut with open spanner. Finish with stubby wrench.Tools: 3/4 - 19mm flare nut wrench
16-Remove return pipe from acc#1
In order to disengage the accumulator #1 assembly. On the picture the pipe has already been removed and the port is blanked.Tools: 11 mm - 7/16 in. open spanner
17-Ease down acc#1
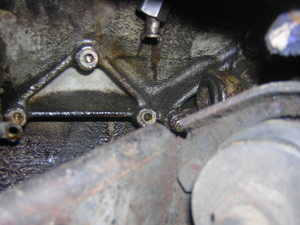
18-Acc#1 removed
Notice the triangle where the setscrews securing acc#1 were located.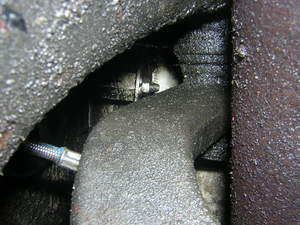
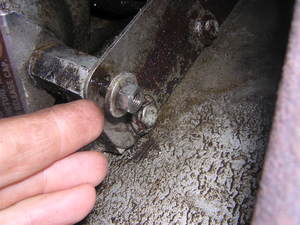
19-Remove lower nut securing acc#2
Can be sen at the middile of the picture. Pointing down in reality.Tools: 11mm - 7/16 in. socket with extension
20-Accessing the low nut securing acc#2
Tools: 11mm - 7/16 in. socket with extension
21-Remove low-right setscrew at the acc#2 triangle.
can be seen here in the middle of the picture.Tools: 11mm - 7/16 in. socket
22-Remove low-left setscrew at the acc#2 triangle.
Comes with a washer.Tools: 7/16 - 11mm stubby
23-Remove blue pipe to distribution valve on acc#2
Tools: 7/16 - 11mm flare nut wrench

24-Release inlet pipe to pump on acc#2
Same as (15). NOTE : if you need to pull very strongly on the wrench, you must FIRST put back in place at least 2 setscrews that you formerly removed in (13 - 21 - 22)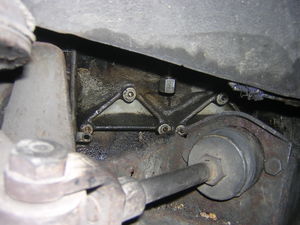
25-Accumulators removed : see the two triangles for setscrews locations
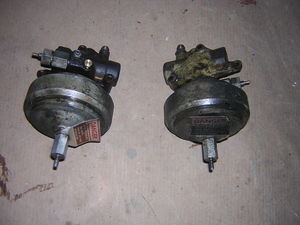
26-Accumulators assemblies ready for maintenance
To be continued soon

