
Header tank (inluding the sensor) : Remove and clean
This is not a complete refurbishing. This maintenance is part of the troubleshooting of a failing coolant sensor. To check the sensor condition it needed to be removed from the header tank, but I took the occasion to remove the tank itself also.
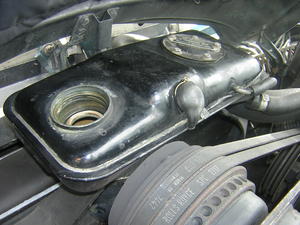
0-We assume the header tank to be empty of liquid
To do so, do the 3 first steps of the process described here (draining the system). But you'll only need to drain about 3 litres of coolant to dry the header tank.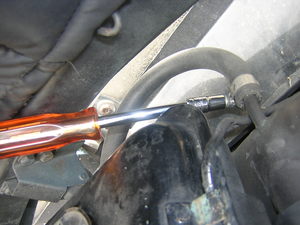
1-Remove the header tank to radiator hose
Tools: Jubilee screwdriver
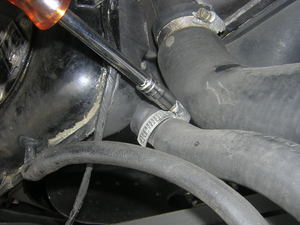
2-Remove the pump to header tank hose
Tools: Jubilee screwdriver
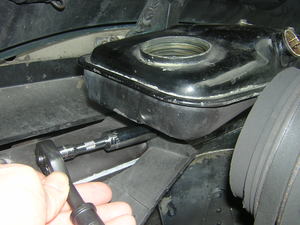
3-Remove the three 11 mm - 7/16 mm bolts anchoring the header tank
4-Some of these bolts securing the header tank are not easy to access
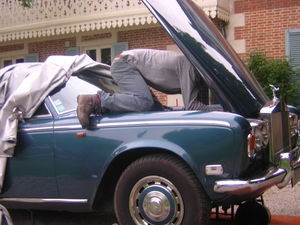
But *never* do this, use fender protectors!
5-Remove the header tank steam escape pipe from its clips
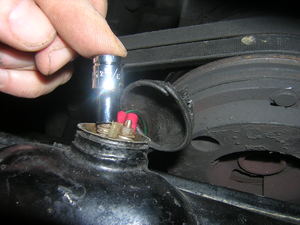
6-Remove the sensor boot and the two 6BA / 5mm nuts holding the coolant sensor lead
Beware not to drop the two tiny nuts and washers. The sensor is further extracted by releasing a circlipTools: 5mm - 6BA socket with screwdriver handler
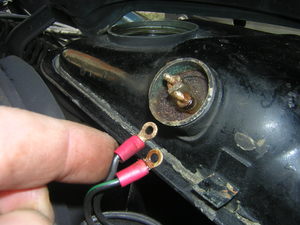
7-Header tank sensor leads removed
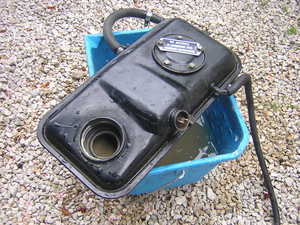
8-Withdraw the header tank, clean it with mains water
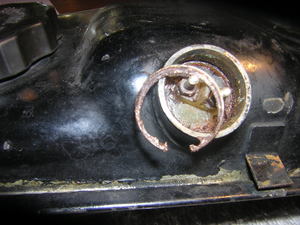
9-Release the circlip securing the coolant the sensor
In the case shown on the picture the circlip is in iron age condition.Tools: Circlip pliers
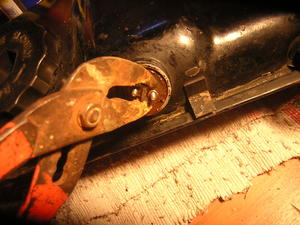
10-Using pliers, gently twist out the sensor
If too difficult, use penetrating oil and let it make effect.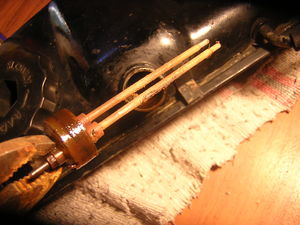
11-Coolant sensor out
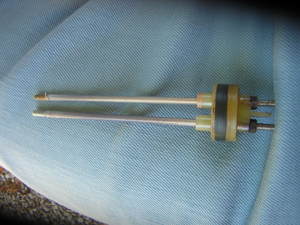
12-Thoroughly clean the sensor prong
These are plastic coated. Visually check the coating. With an ohmmeter check that the insulation is correct.At that point you may want to remount the header tank and finish the maintenance.
This would be the case in a simple cooling system flush. Check the condition of the circlip and of the coolant probe o ring and change them if necessary. See here how to do.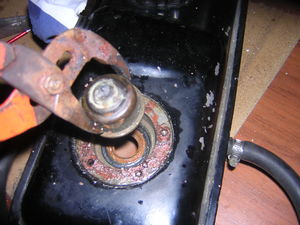
13-If you wish to go further and check the steam valve condition carry on
You'll find here about a steam valve removal and a change of the various gaskets.
