
Duct drain, cleaning the left (RH car)
"The dashboard drain tubes are responsible for for preventing water entry into the passenger cabin, but the tend to clog with fine dirt. Water entering this way is the primary cause for rusty floor pans". (J.J Waples)
0-Remove the wiper motor
This taks is explained here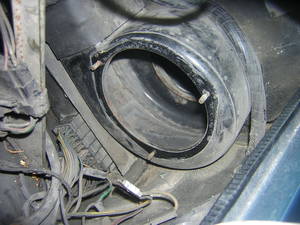
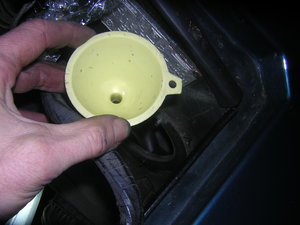
1-Remove the blower motor
See here how to perform this task.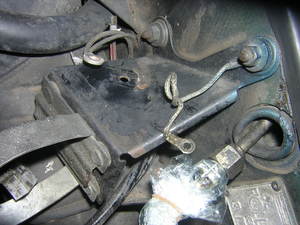
2-Remove the wiper motor brackets
The removal of this part gives access to the further removal of the air ducts. This part is secured to the blukhead by three 11mm - 7/16 in. nuts and their thick washers.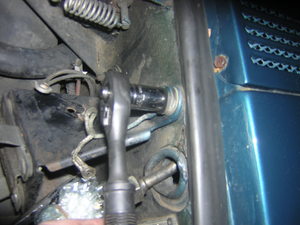
3-Remove the top nut securing the wiper motor bracket
This nut also holds an earth strap.Tools: 11mm - 7/16 in. socket
4-Remove the left nut
Tools: 11mm - 7/16 in. socket
5-Remove the lowermost nut
Tools: 11mm - 7/16 in. socket with extension
6-This last nut also holds a clip securing a wire loom
7-Mark the wiring loom passage into the bracket before removal
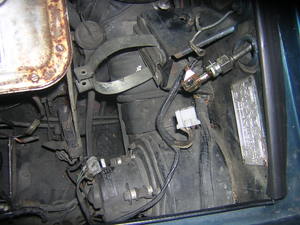
8-Wiper motor brackets removed
The air duct beneath is now fully accessible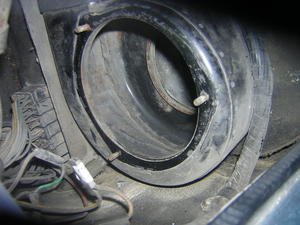
9-Remove the fan air mover (squirrel cage)
As the duct lies under the squirrel cage, this part has to be removed. It is secured to the bulkhead by three 9mm - 11/32 in. bolts accessible from inside the cage.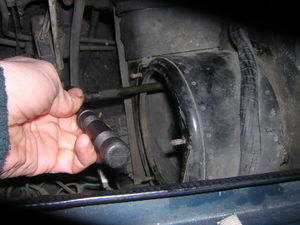
10-Release the three 9mm - 11/32 in nuts securing the fan air mover to the bulkhead
Tools: 9mm - 11/32 in. socket and extension
11-Release the two clips securing the wiring loom to the fender
Do this in order to loosen the wiring when it comes to remove the fan air mover.Tools: Flat screwdriver
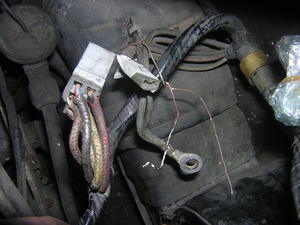
12-Using wire, tie the unconnected wires and loom
Just to keep them out of the wayNote
The next two steps don't seem to be necessary in the case of just of just removing the squirrel cage. Removing the heater hose surely helps, but only if your purpose is to remove the entire duct assembly, which is not required to access the duct drain.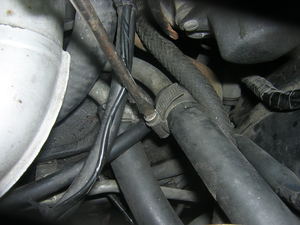
13-Release the top heater matrix hose on the engine side
Tools: Jubilee screwdriver
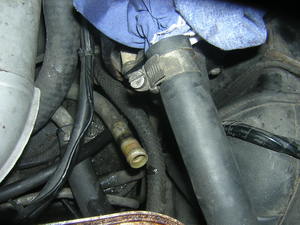
14-Heater matrix hose relased
Close with a rag or similar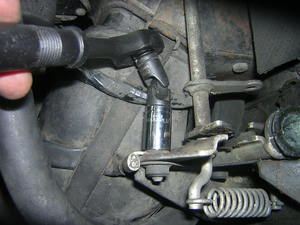
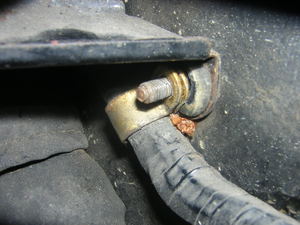
15-Remove the earthing strap secured to the right bonnet hinge
It is a 11mm - 7/16 in. nut and its washerTools: 11mm - 7/16 in. socket with extension
16-Detach the top ducting strap
This is not mandatory but it eases the moving of the duct assembly as a whole and the release of the fan air over
17-Remove fan air mover and rubber seal
Beware not to foul the foam seal that may be stuck against the bulkhead. Gently pull the fan air mover apart.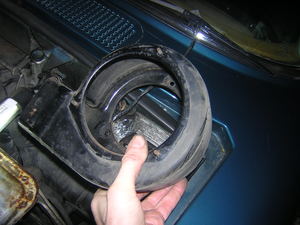
18-Squirrel cage removed
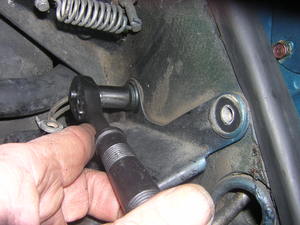
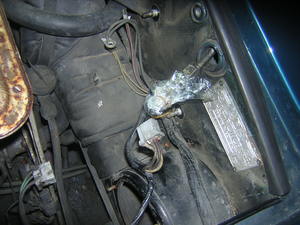
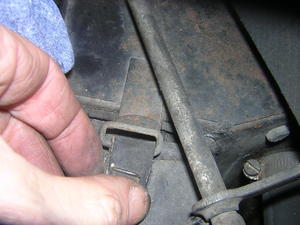
19-The duct drain pipe is now accessible
The "L shaped" pipe is visible at the middle of the picture. This pipe goes from a hole that is sitting inside the air inlet which is collecting the water that drops from the grille at the bottom of the windscreen.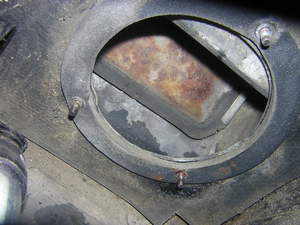
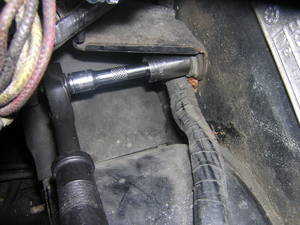
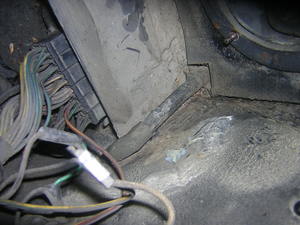
20-The inlet to the drain pipe is a hole that can be reached from inside the bottom of this air inlet
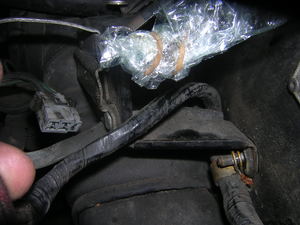
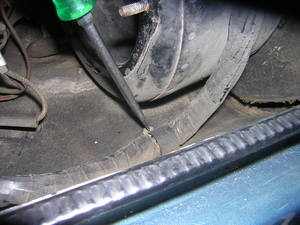
21-Testing the drain pipe
One possible test is to push wire inside the pipe to test for a choke; or to pour water inside the inlet and acertain that it correctly flows to the floor under the car
