
Radiator : remove
In my particular case, radiator removal was done in order to have it recored. One must be careful that a resoldered radiator may have a sligh extra thickness which may cause problems for the refitting.
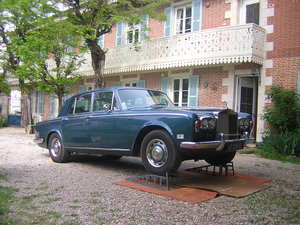
0-Drive car on a ramp
Means also : cut battery off, gear selector to P, parking brakes applied, wheels kept steady with wood blocks.According to the forums and the WM the 2 following steps are not absolutely required
But removing the bonnet gives more confort for the radiator removal and removing the grille is an occasion to check the condition of the steering radiator and to clean the whole thing.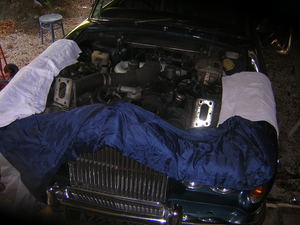
1-Remove the bonnet
See here for the process.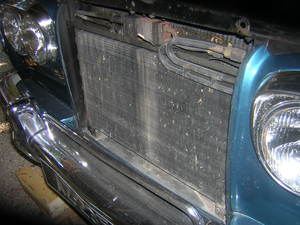
2-Remove the grille
See here for the processTo remove the radiator, a partial coolant drain is necessary
Partial drain means it is not necessary to drain the engine block (no need to remove the engine drain plugs) and to drain the heater matrix (therefore no need to open the heater tap). Steps 1 to 3 of the coolant drain procedure are enough.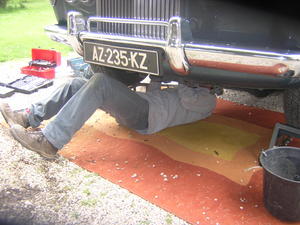
3-Drain the coolant
The process is explained here.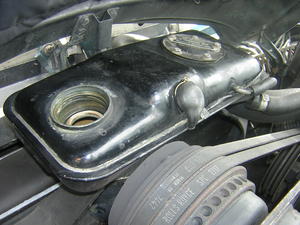
4-Remove the header tank
Perform the 8 first steps of the process explained here.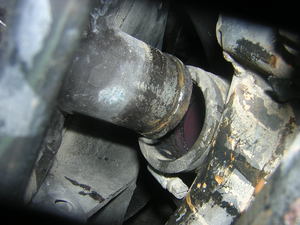
5-Release the lower radiator hose from its spout
Tools: Jubilee screwdriver
6-Remove radiator top hose
Tools: Jubilee screwdriver
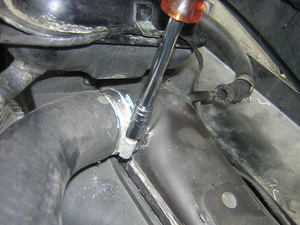
7-Disconnect with the two automatic transmission fluid lines
(called "heat exchange pipes" in WM)Tools: Crow foot wrench
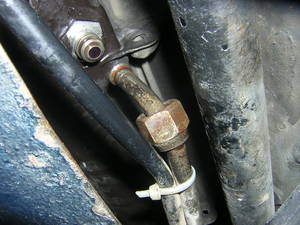
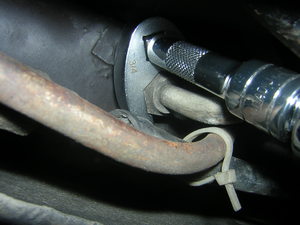
8-Heat exchange pipes disconnected
The working manual says "blank the left side tube (inlet) with a plug (5/8 in. UNF) because the transmission will drain entirely". But when the front car wheels are on a ramp the transmission oil does not drain entirely, as the car is not on level. It is also recommended to fit blanking plugs to prevent ingress of dirt and moisture (I didn't, used plastic instead).NOTE THAT when you'll put these pipes back in place it is absolutely important not to overtighten.
At that point, the radiator is freed from all hoses and lines.
You can now detach the radiator itself.In order to gain space you can either remove the radiator cowls or the cooler fan. Because the tiny nuts that are securing the lower cowls are uneasy to reach and also very fragile when rusted; we prefer to remove the top cowl (4 nuts) AND the fan.
Another side project here is to check for the steering radiator condition and possibly change its hoses.
9-Remove the four 8mm nuts (two on each side) securing the two upper cowls
Do carefully and soak with penetrating oil. And remove the upper cowls.Tools: 8mm socket
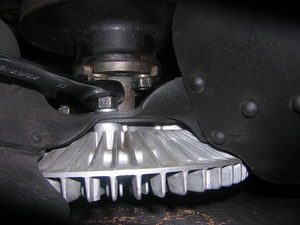
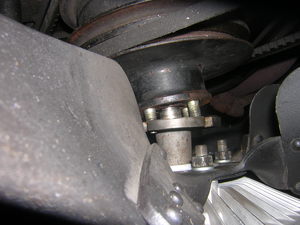
10-Loosen the four 13mm nuts securing the Fan but do not remove the fan
This is done in order to gain access to the pulley nuts wich can be seen on the topmost part of the picture.It is worth noting that they are not heavily torqued.
Tools: 13mm ratcheting box wrench
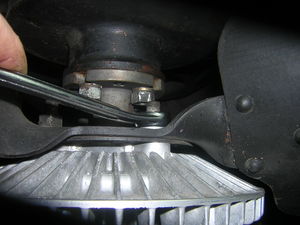
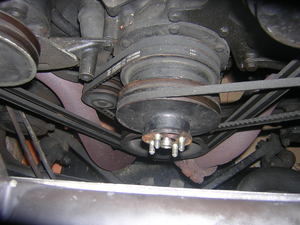
11-Release the four 13mm nuts securing the viscous fan clutch to the pulley
Tools: 13mm ratcheting box wrench
12-Tighten back the fan nuts
Tools: 13mm ratcheting box wrench
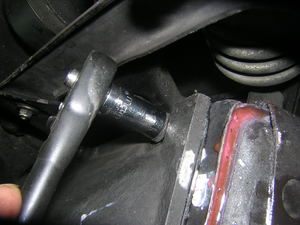
13-Ease the fan and clutch out
The rear face of the clutch tends to rust itself to the front of the face of the water pump pulley : use penetrating oilIt it easier using the left handside while facing the engine. While doing so take care not to damage the radiator matrix or the fan.
14-Fan and viscous clutch removed
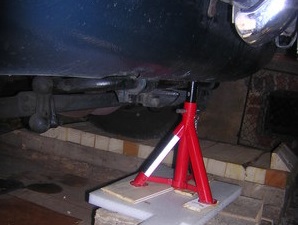
15-Before releasing the radiator's setscrews, position a jack stand to support the radiator
Also spread old towels all over the top of the engine and secure the fenders.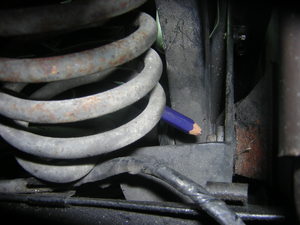
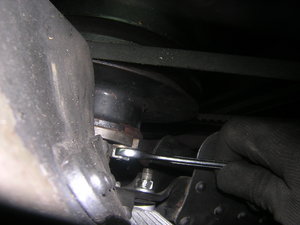
16-Remove all 1/2 in. (13mm) setscrews holding the radiator but one
The radiator is held in place with four sets of 1/2 in. screws and washers - two on each side - all accessible from the engine compartment.The picture is showing one of them.
Tools: 13mm ratcheting box wrench
17-Remove the last setscrew and withdraw the radiator.
Ask an assistant to hold the radiator on level on the jack stand while removing the last setscrew, then lift up the radiator.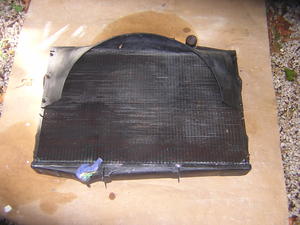
18-Radiator removed, upper cowls remaining
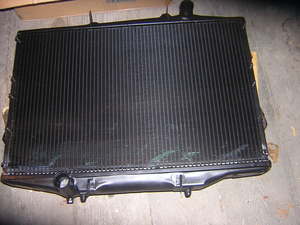
19-Renewed radiator ready for remount

